Tạo Ứng Dụng Yii Đầu Tiên
Để có những kinh nghiệm đầu tiên về Yii, trong phần này, chúng tôi hướng dẫn
bạn cách tạo ứng dụng Yii đầu tiên của bạn. Chúng tôi sẽ sử dụng một công cụ đắc
lực yiic để tự động tạo ra những đoạn mã cho yêu cầu này. Để cho tiện, chúng
tôi giả xử rằng YiiRoot là thư mục mà Yii được cài đặt, và WebRoot là thư
mục chứa tài liệu chính của Web server.
Chạy lệnh yiic trong command line như sau:
Chú ý: Khi chạy
yiictrên hệ điều hành Mac, Linux hoặc Unix, bạn có thể phải thay đổi quyền hạn cho fileyiicđể nó có tính năng thực thi. Cách khác, bạn có thể chạy công cụ như sau,
Nó sẽ tạo ra "bộ xương" của ứng dụng Yii trong thư mục
WebRoot/testdrive. Cấu trúc thư mục của ứng dụng này là cần thiết cho hầu hất
các ứng dụng Yii.
Không cần phải viết đoạn code nào, bạn vẫn có thể chạy test thử ứng dụng này bằng cách truy cập vào đường dẫn này trên trình duyệt:
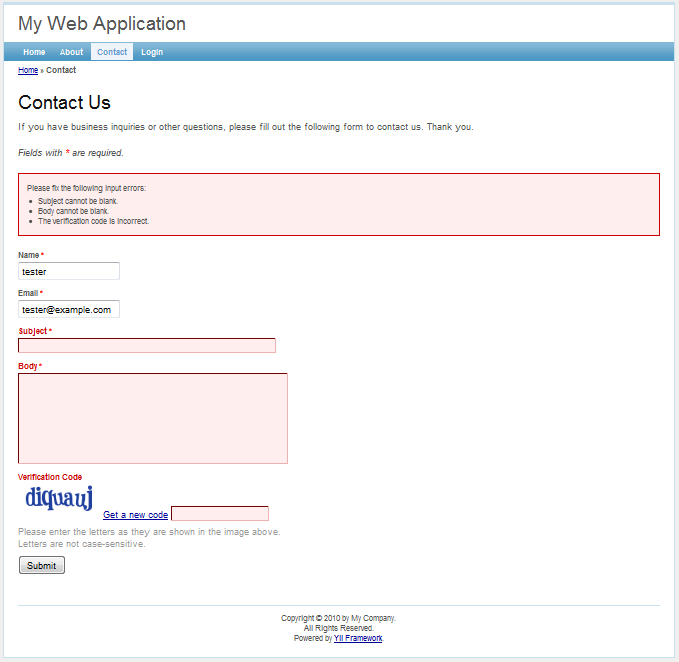
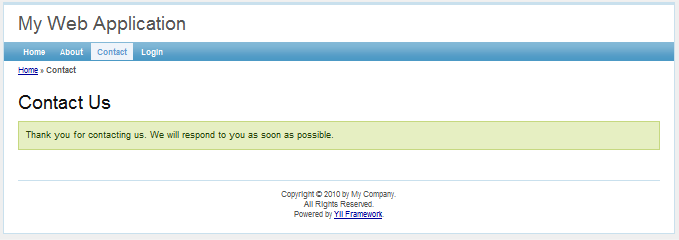
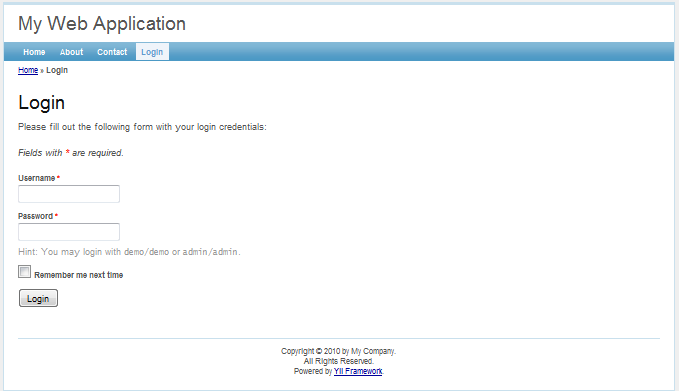
Như chúng ta thấy, ứng dụng có tất cả 4 trang: trang home, trang about, trang contact va trang login. Trang contact hiển thị form liên hệ để người dùng điền thông tin để liên hệ với người quản trị web, và trang login page cho phép người dùng xác thực (đăng nhập) trước khi truy cập đến các nội dung mà khách không được xem. Xem các hình dưới đây để nắm nhiều thông tin hơn.
Trang Home

Trang Contact

Trang Contact với các thông báo lỗi
Trang Contact khi thành công
Trang Login
Sơ đổ bên dước thể hiện cấu trúc thư mục của ứng dụng. Hãy xem các quy định để biết được củ thể cấu trúc thư mục này.
Kết nối cơ sở dữ liệu
Hầu hết các ứng dụng web đều có cơ sở dữ liệu đằng sau nó. Và ứng dụng của chúng
tôi cũng không ngoại lệ. Để sử dụng cơ sở dữ liệu, chúng ta cần phải khai báo cho
ứng dụng biết làm sao để kết nối. Việc này có thể được thực hiện trong file cấu hình
của ứng dụng WebRoot/testdrive/protected/config/main.php, cụ thể như sau,
The above code instructs Yii that the application should connect to the SQLite database
WebRoot/testdrive/protected/data/testdrive.db when needed. Note that the SQLite database
is already included in the skeleton application that we just generated. The database
contains only a single table named tbl_user:
If you want to try a MySQL database instead, you may use the included MySQL
schema file WebRoot/testdrive/protected/data/schema.mysql.sql to create the database.
Note: To use Yii's database feature, we need to enable PHP PDO extension and the driver-specific PDO extension. For the test-drive application, we need to turn on both the
php_pdoandphp_pdo_sqliteextensions.
Implementing CRUD Operations
Now is the fun part. We would like to implement the CRUD (create, read,
update and delete) operations for the User table we just created. This is
also commonly needed in practical applications. Instead of taking trouble
to write actual code, we would use the powerful yiic tool again
to automatically generate the code for us. This process is also known as scaffolding.
Open a command line window, and execute the commands listed as follows,
In the above, we use the yiic shell command to interact with our
skeleton application. At the prompt, we execute two sub-commands: model User tbl_user
and crud User. The former generates a model class named User for the tbl_user table,
while the latter analyzes the User model and generates the code implementing
the corresponding CRUD operations.
Note: You may encounter errors like "...could not find driver", even though the requirement checker shows you have already enabled PDO and the corresponding PDO driver. If this happens, you may try to run the
yiictool as follows,where
path/to/php.inirepresents the correct PHP ini file.
Let's enjoy our work by browsing the following URL:
This will display a list of user entries in the tbl_user table.
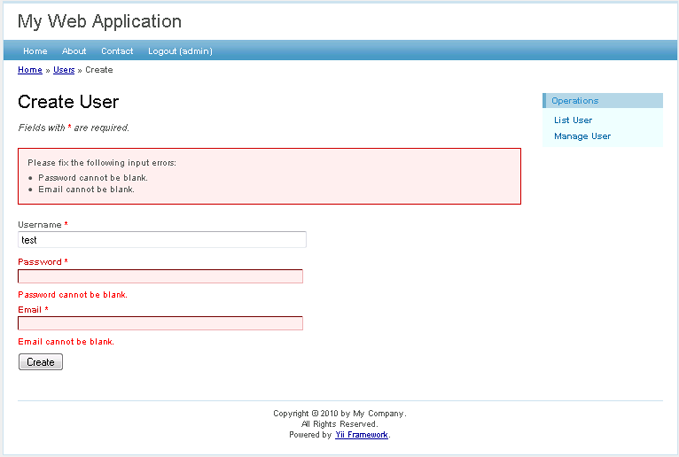
Click the Create User button on the page. We will be brought to the login
page if we have not logged in before. After logged in, we see
an input form that allows us to add a new user entry. Complete the form and
click on the Create button. If there is any input error, a nice error
prompt will show up which prevents us from saving the input. Back to the
user list page, we should see the newly added user appearing in the list.
Repeat the above steps to add more users. Notice that user list page will automatically paginate the user entries if there are too many to be displayed in one page.
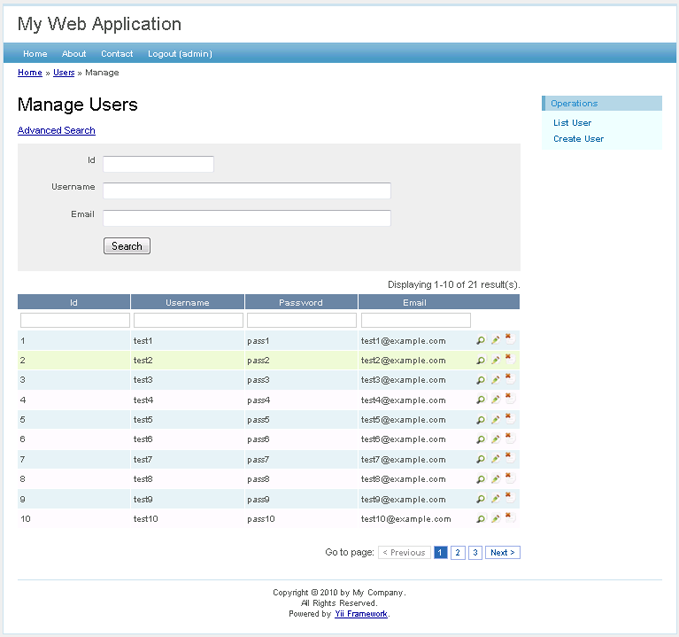
If we login as an administrator using admin/admin, we can view the user
admin page with the following URL:
This will show us the user entries in a nice tabular format. We can click on the table header cells to sort the corresponding columns. We can click on the buttons on each row of data to view, update or delete the corresponding row of data. We can browse different pages. We can also filter and search to look for the data we are interested in.
All these nice features come without requiring us to write a single line of code!
User admin page
Create new user page